
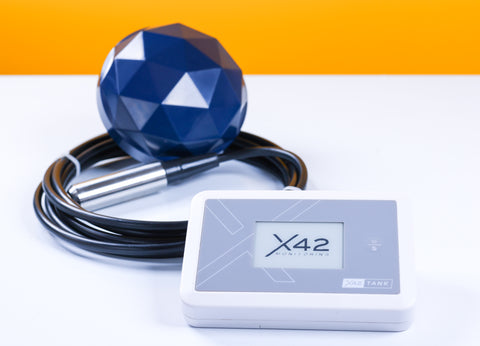
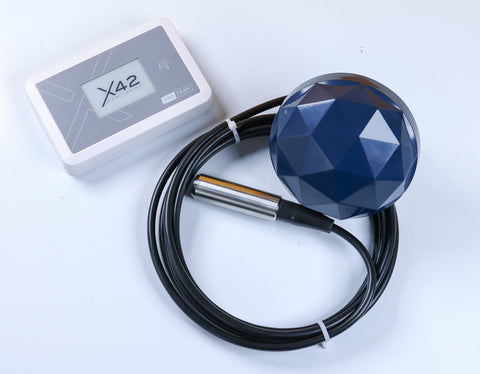
X42 Tank – Smart Rainwater Monitoring
If you have received a flyer in your letterbox with an introductory offer, please contact us, we will honour it, despite Australia Post being 2 months late. contact@x42monitoring.com
Take control of your water supply with X42 Tank, a reliable and cost-effective rainwater monitoring solution for Australian homes. Designed for properties relying on rainwater tanks, X42 Tank provides real-time insights into water levels, consumption trends, and refill predictions, without the hassle of ongoing fees.
Key Features:
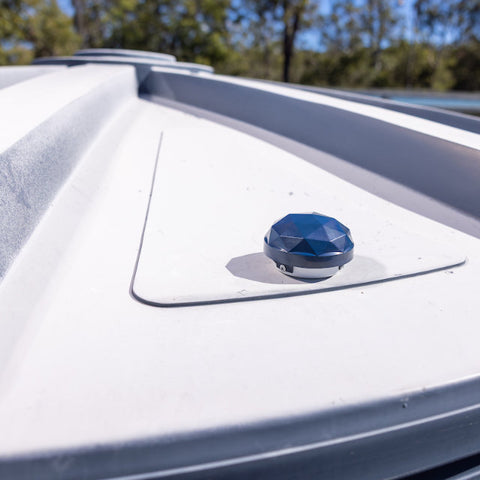
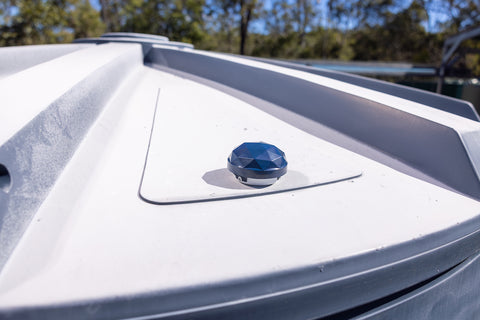
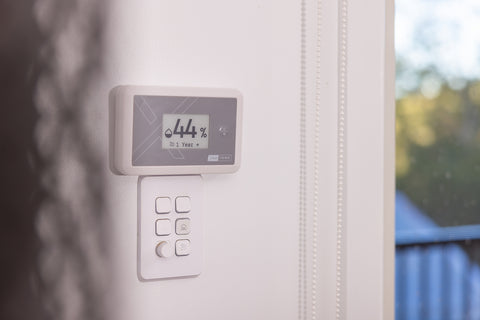
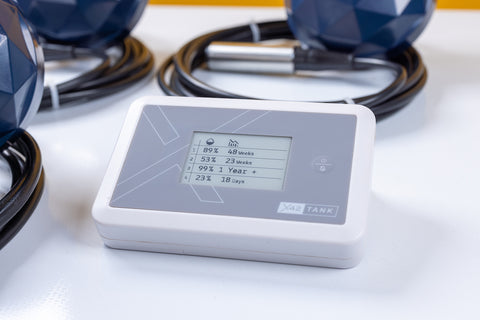
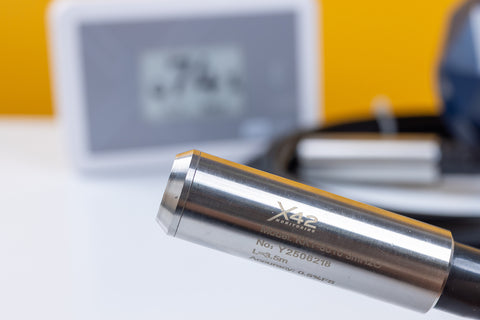
✅ Accurate Tank Monitoring – Track water levels from tanks from a single Base Unit with touch display.
✅ Long-Range Connectivity – LoRa communication covers up to 1 km, ensuring reliable data transmission.
✅ Battery-Powered Simplicity – Runs on just two AA batteries per unit, eliminating the need for external power.
✅ Run-Out Alerts & Consumption Tracking – Stay ahead of shortages with predictive insights and alerts.
✅ Subscriptions FREE, No Hidden Costs – A one-time investment with no reliance on 4G, satellites or internet
Over 1.1 million Australian households rely on rainwater as their primary water source, making X42 Tank the smarter, more affordable alternative to costly subscription-based monitoring systems.
Future-proof your water security today.
X42 Monitoring. Know your water. Plan ahead. And never get caught out again.

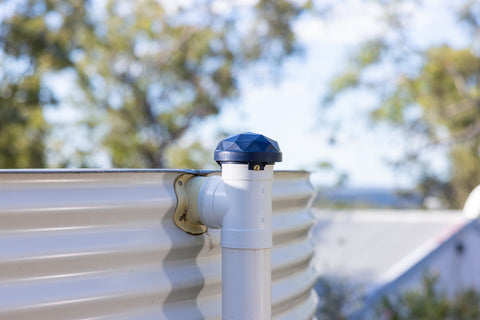
Steel Tank with T-Piece
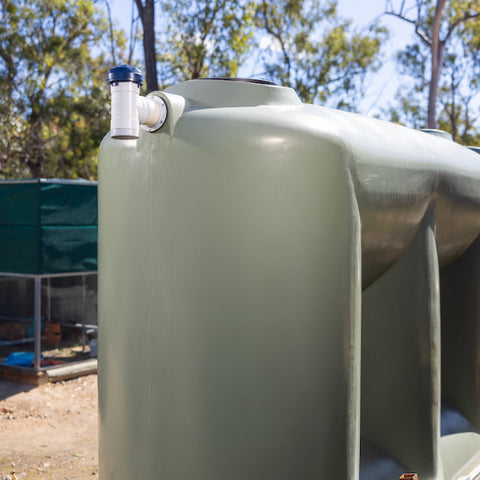

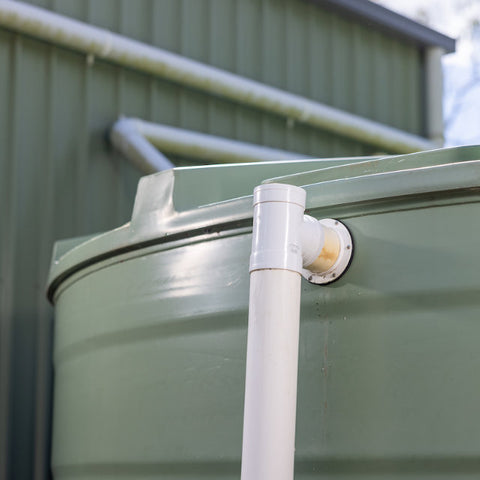
Polyethylene Tank T-Piece

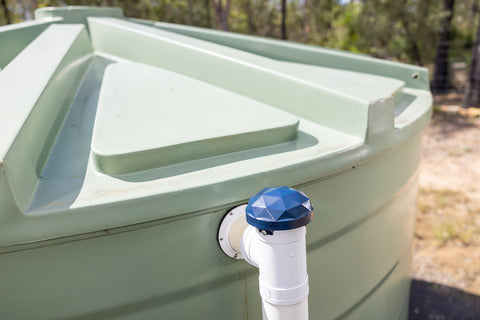
Polyethylene Tank End Cap

Polyethylene Tank T-Piece
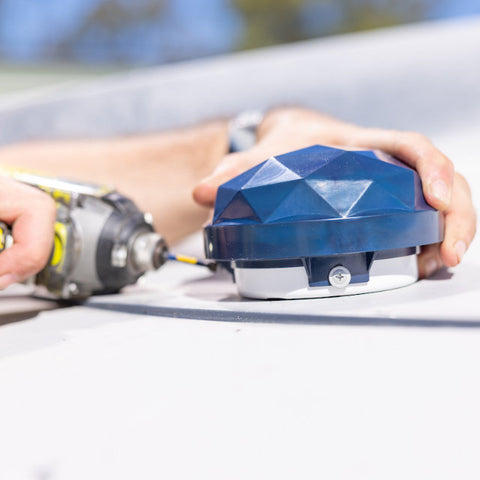
Installation of the X42 Tank Starter Kit and additional Sensor Nodes is DIY.
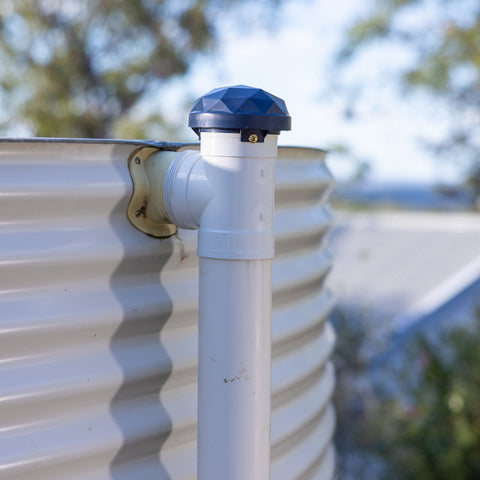
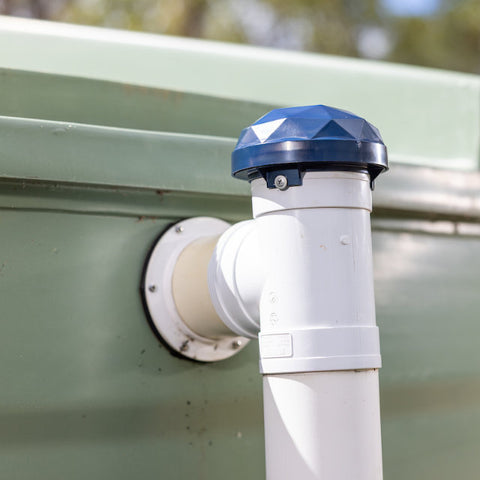
- Installation with a T-Piece for a 90mm Stormwater Overflow
- Installation with an End Cap
Sensor Node Installation T-Piece

Installation with a T-Piece for a 90mm Stormwater Overflow
The Node is designed to fit on a standard 90m stormwater pipe.
Items needed for installation, not supplied
- 1 x 90mm 90° Female and Female PVC Stormwater Junction – T-Piece
- 3 x Screws (Stainless or Hot-dipped galvanised self-tapping)
- An additional short length of 90mm pipe
- Roof and Gutter Sealant
Tools
- Drill or screwdriver
Note
- When installation is over a high flow outlet, extend the neck at least 150mm to let the water pass
Step by Step

Remove existing Stormwater Pipe
- If present, remove the existing stormwater fittings from the overflow of the tank.
- Remove Elbow piece if connected
- Check inside the tank the fitting type, elbow or straight, to set fill height later

Setting up T-Piece
- Test fit the new 90mm T-Piece
- Check if an extension piece is needed.
- If yes, cut the additional required piece to suit.
- Cut the cable tie of the sensor cable without damaging the cable.


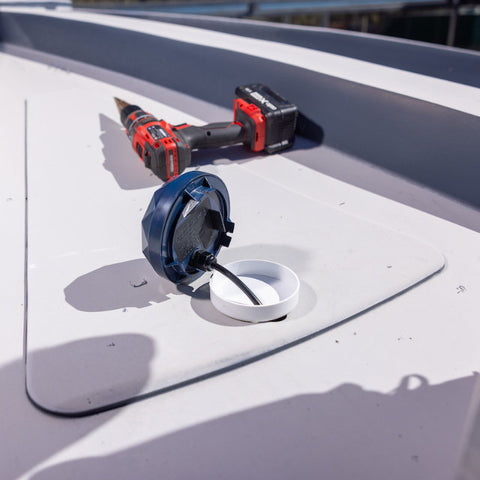
Installation of the sensor
- Insert the sensor from the top and pull it out of the middle of the T-piece.
- Gently insert the sensor into the tank, including the excess cable.
- Apply sealant to joints. Set the T-Piece on top of the stormwater pipe and connect it to the tank.
IMPORTANT: Ensure no sealant is transferred to the metal piece of the sensor
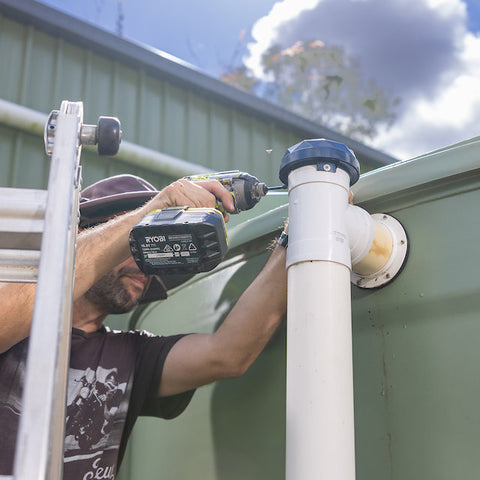

Secure Node
- Set Node on top of the T-Piece.
- Secure Node with three screws to the T-Piece utilising the enclosure tabs.
IMPORTANT: Do not pull the sensor back out until sealant has cured
NOTE: When installing over a high-flow outlet, extend the neck at least 150mm to let the water pass
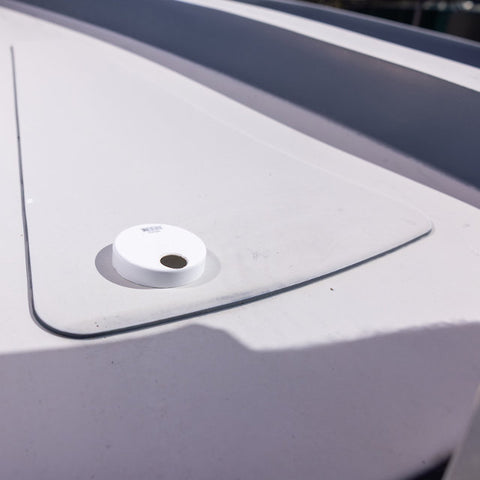
Sensor Node Installation End Cap

Installation with an End Cap - Polyethylene, Steel and Concrete Tanks
Items needed for installation, not supplied
- 90mm Push-On PVC Storm Cap – End Cap.
- 5 x Screws (Stainless or Hot-dipped galvanised self-tapping).
Tools
- Drill or screwdriver.
- 25mm min drill bit.
- Plastic Tank: Step-drill or wood drill bit.
- Steel Tank: Step-drill bit.
- Concrete Tank: diamond core drill bit.
Step by Step

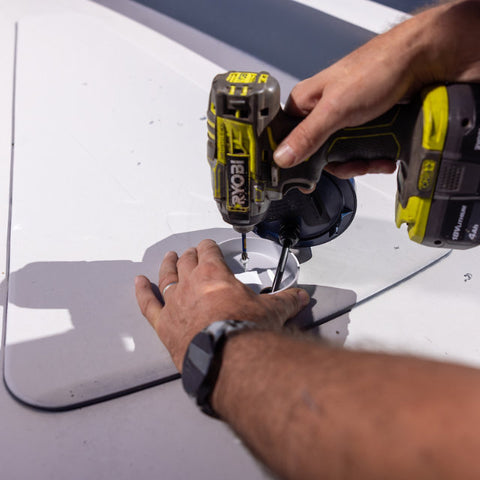
Prepare End Cap and Tank
- Drill a 25-32mm hole into the End Cap using the supplied template.
- Mark the location on the tank, and drill the same hole size.

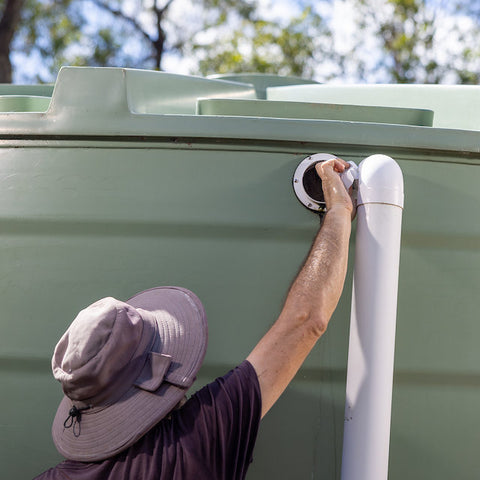
Installing the Sensor
- Cut the cable tie of the sensor cable without damaging the cable.
- Fit the sensor through the hole in the end cap into the tank.

Securing the End Cap
- Secure the End Cap to the tank (screws or adhesive)
- Ensure the 25mm hole is located at the lowest point to allow fluids to drain back.

Secure Node
- Set the Node on top of the End Cap.
- Secure the Node with three screws, utilising the enclosure tabs.
Featured product


X42 Tank Starter Kit
$349.00