
At X42 Monitoring, we value your satisfaction and strive to provide a seamless shopping experience. Whether you need shipping details or returns information, our team is here to assist you every step of the way.
When it comes to shipping and delivery, our top priority is ensuring that your orders are dispatched promptly. While we strive to deliver your items as quickly as possible, please be mindful that we are based in a rural region, which may lead to slight delays.
If you have any questions at all please get in touch with us at support@x42monitoring.com.
Shipping & Delivery
All orders are shipped from the Gold Coast or Gin Gin, Australia.
All orders are shipped via Australia Post from our locations, with tracking numbers provided for your convenience. Depending on your location, deliveries typically take 3-7 business days for standard post within Australia. Regional deliveries and WA can take an additional 2-3 days.
For orders within Australia, we offer a flat fee of $25.
Please ensure you provide your full details and correct address when placing your order, we are not responsible for miss deliveries or return to sender due to incorrect and incomplete address/contact details. We offer delivery to PO Boxes, but we are unable to replace lost shipments.
- Australia Post within Australia is a $25.00 shipping charge with a tracking number.
- All orders are sent in plain packaging.
After we ship your order, you will receive a shipping notification email with your tracking number and carrier so you can track your parcel's progress. Please remember to check your email junk folder; sometimes, certain email accounts will flag emails as spam, depending on your personal email settings.
Please note - The delivery time frames given are estimates provided by Australia Post, we have no control over delays within the postal service which can happen from time to time, please ensure you allow an adequate amount of time to receive your parcel for your event to avoid any disappointment, we do not offer guarantees on delivery time frames. Public holidays will affect deliveries and may cause delays within Australia Post.
Missing/Lost Parcels
In the rare event of missing or lost parcels, we take full responsibility and will gladly replace your order after a thorough investigation, excluding PO Box deliveries. Additionally, our returns policy ensures a hassle-free experience for exchanges or store credits within 30 days of delivery, provided that the items meet specific conditions outlined in our policy.
30-Day Money-Back Guarantee
We want you to be confident in your X42 Monitoring purchase, so we offer a 30-day money-back guarantee on eligible products.
If you change your mind within 30 days of receiving your order, you can return your product for a full refund - provided it meets all of the following conditions:
-
The product must be unused and in original condition.
-
All original components, packaging, and seals (including the Homebase foil seal) must be intact and undamaged.
-
The product must be returned in its original packaging ready for resale.
-
Contact us first to receive return instructions before sending the product back.
Return shipping costs are the responsibility of the customer.
Once we receive and inspect your return and confirm that it meets the above requirements, we’ll process your refund to your original payment method.
We’re committed to making your experience with X42 Monitoring as simple and reassuring as possible - if you have any questions, please get in touch with our support team.
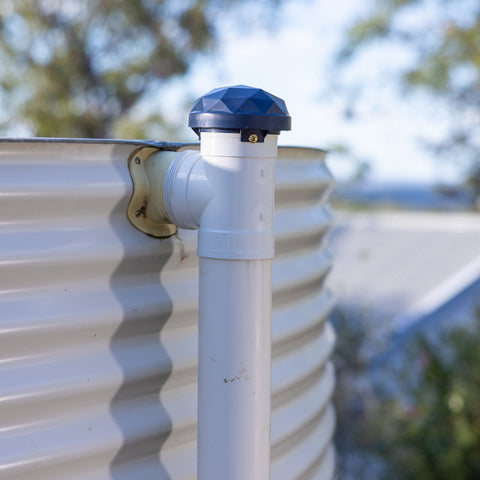

Steel Tank with T-Piece
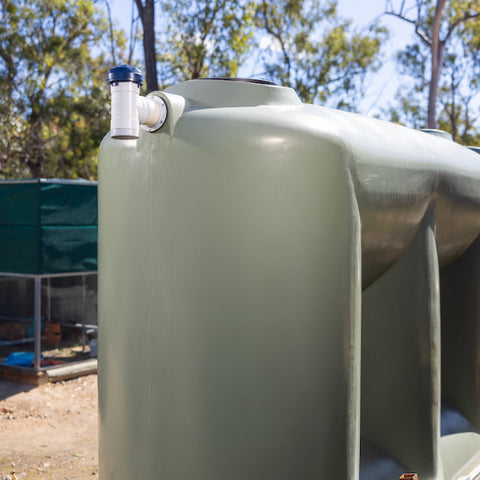

Polyethylene Tank T-Piece
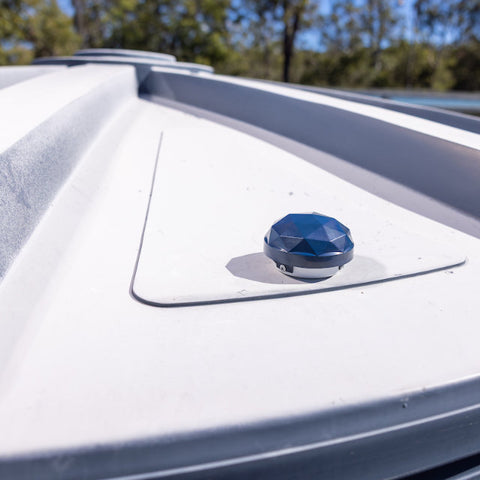

Polyethylene Tank End Cap
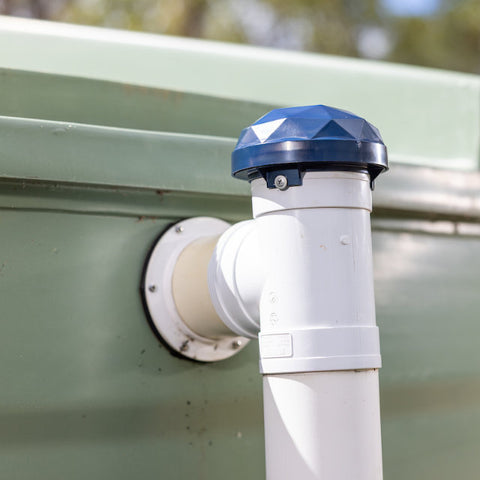

Polyethylene Tank T-Piece
Installation of the X42 Tank Starter Kit and additional Sensor Nodes is DIY.
- Installation with a T-Piece for a 90mm Stormwater Overflow
- Installation with an End Cap
Sensor Node Installation T-Piece
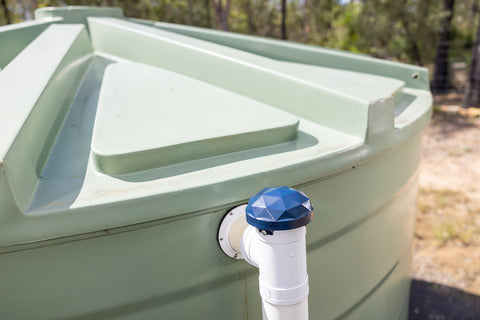

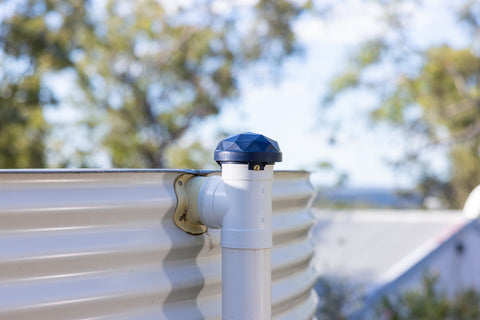
Installation with a T-Piece for a 90mm Stormwater Overflow
The Node is designed to fit on a standard 90m stormwater pipe.
Items needed for installation, not supplied
- 1 x 90mm 90° Female and Female PVC Stormwater Junction – T-Piece
- 3 x Screws (Stainless or Hot-dipped galvanised self-tapping)
- An additional short length of 90mm pipe
- Roof and Gutter Sealant
Tools
- Drill or screwdriver
Note
- When installation is over a high flow outlet, extend the neck at least 150mm to let the water pass
Step by Step

Remove existing Stormwater Pipe
- If present, remove the existing stormwater fittings from the overflow of the tank.
- Remove Elbow piece if connected
- Check inside the tank the fitting type, elbow or straight, to set fill height later
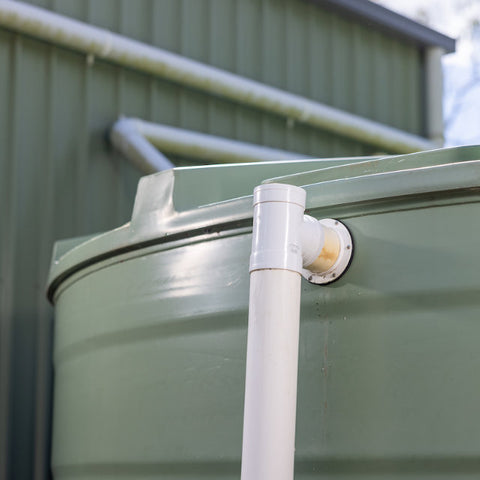

Setting up T-Piece
- Test fit the new 90mm T-Piece
- Check if an extension piece is needed.
- If yes, cut the additional required piece to suit.
- Cut the cable tie of the sensor cable without damaging the cable.


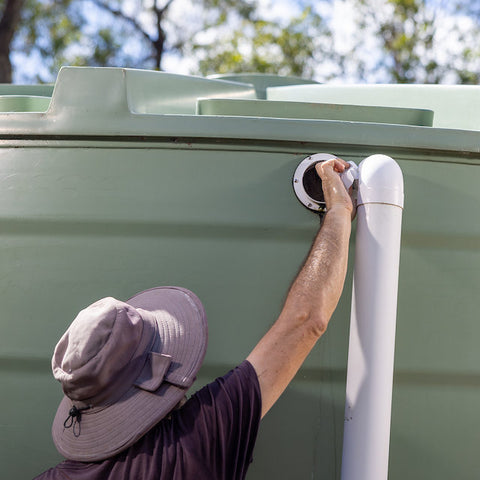
Installation of the sensor
- Insert the sensor from the top and pull it out of the middle of the T-piece.
- Gently insert the sensor into the tank, including the excess cable.
- Apply sealant to joints. Set the T-Piece on top of the stormwater pipe and connect it to the tank.
IMPORTANT: Ensure no sealant is transferred to the metal piece of the sensor
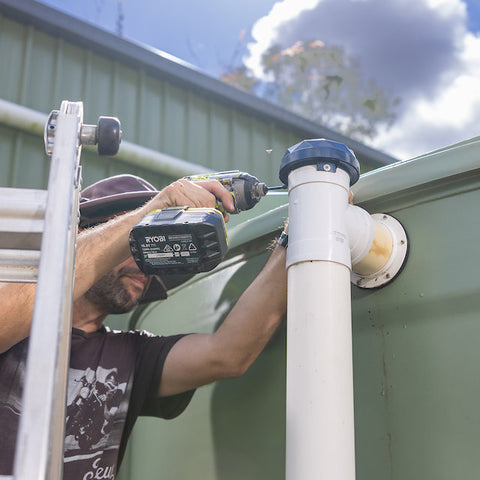

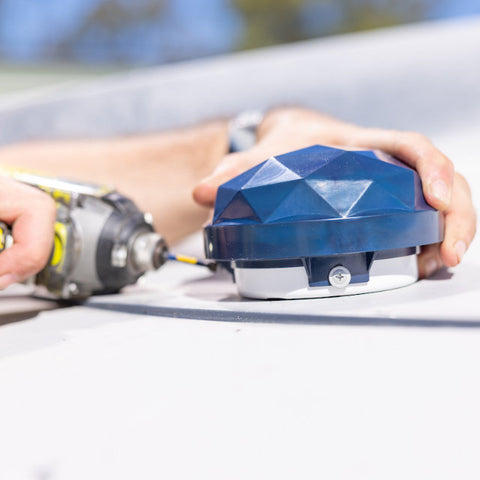
Secure Node
- Set Node on top of the T-Piece.
- Secure Node with three screws to the T-Piece utilising the enclosure tabs.
IMPORTANT: Do not pull the sensor back out until sealant has cured
NOTE: When installing over a high-flow outlet, extend the neck at least 150mm to let the water pass
Sensor Node Installation End Cap

Installation with an End Cap - Polyethylene, Steel and Concrete Tanks
Items needed for installation, not supplied
- 90mm Push-On PVC Storm Cap – End Cap.
- 5 x Screws (Stainless or Hot-dipped galvanised self-tapping).
Tools
- Drill or screwdriver.
- 25mm min drill bit.
- Plastic Tank: Step-drill or wood drill bit.
- Steel Tank: Step-drill bit.
- Concrete Tank: diamond core drill bit.
Step by Step

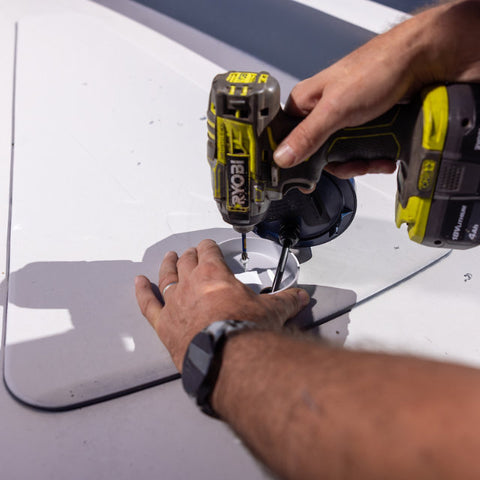
Prepare End Cap and Tank
- Drill a 25-32mm hole into the End Cap using the supplied template.
- Mark the location on the tank, and drill the same hole size.
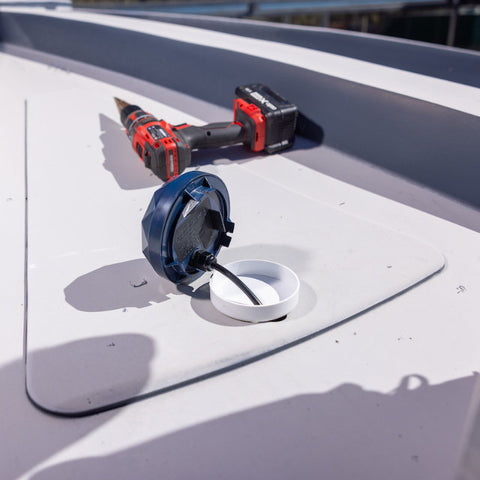

Installing the Sensor
- Cut the cable tie of the sensor cable without damaging the cable.
- Fit the sensor through the hole in the end cap into the tank.

Securing the End Cap
- Secure the End Cap to the tank (screws or adhesive)
- Ensure the 25mm hole is located at the lowest point to allow fluids to drain back.

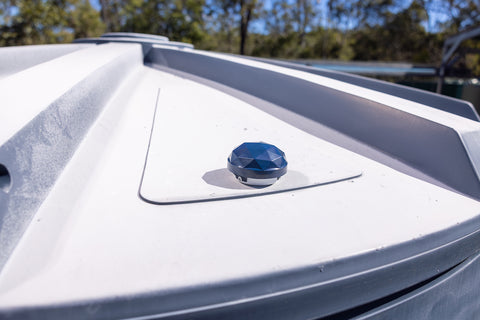
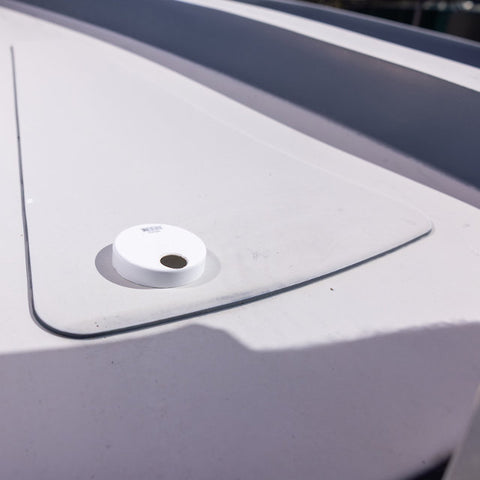
Secure Node
- Set the Node on top of the End Cap.
- Secure the Node with three screws, utilising the enclosure tabs.
Featured product
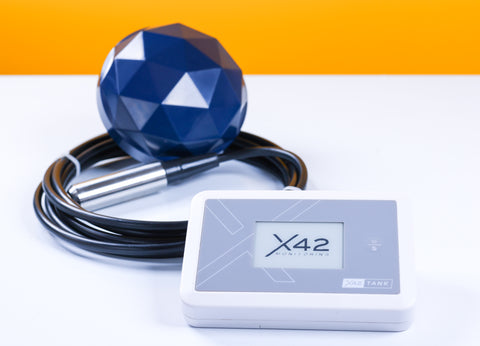

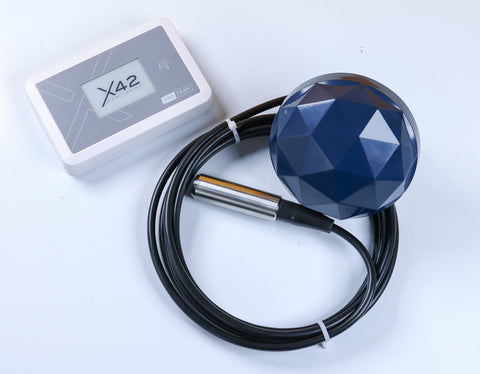


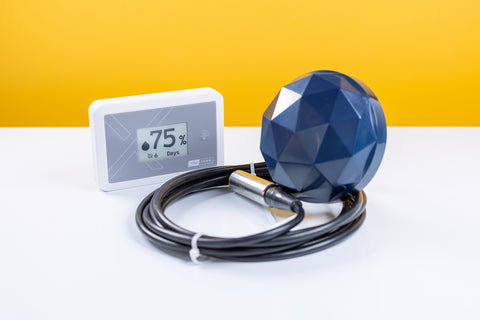


X42 Tank Starter Kit
$389.00