Learn

Coming Soon: 

We're working on something exciting! Our new website is in development, bringing you cutting-edge solutions for smarter monitoring. Stay tuned for updates—great things are on the way!

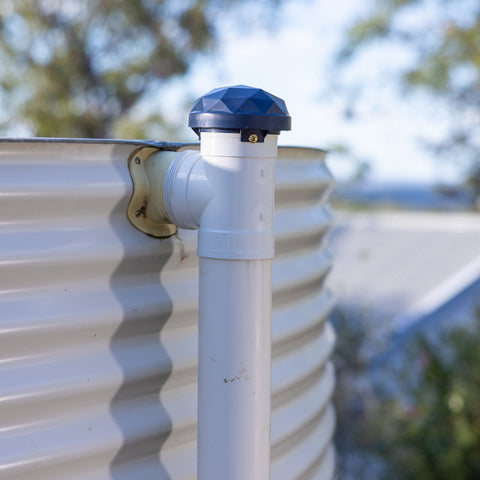
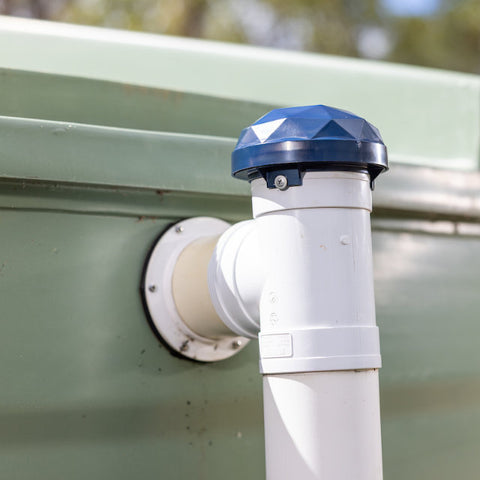
Steel Tank with T-Piece

Steel Tank with T-Piece

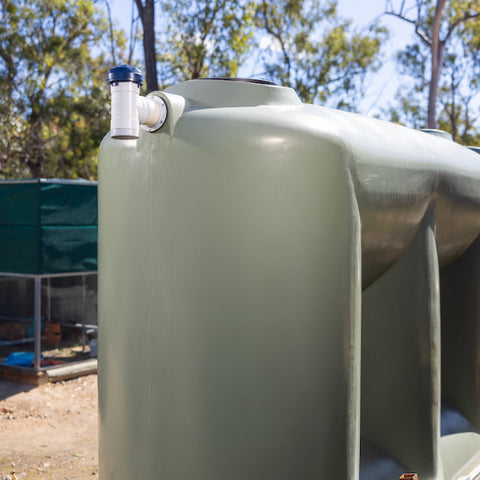
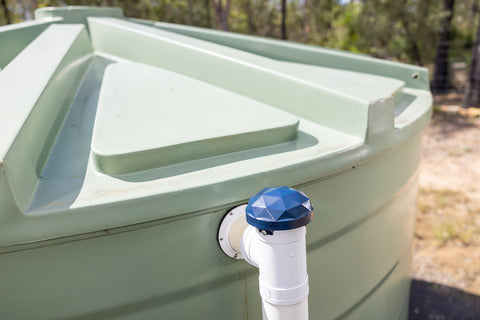
Polyethylene Tank T-Piece

Polyethylene Tank T-Piece

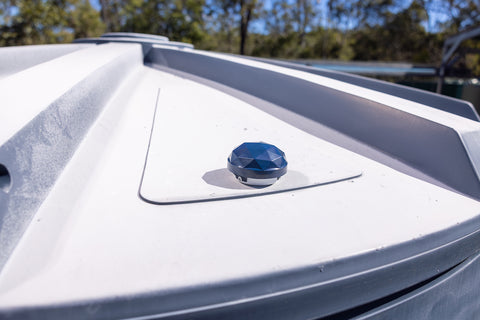
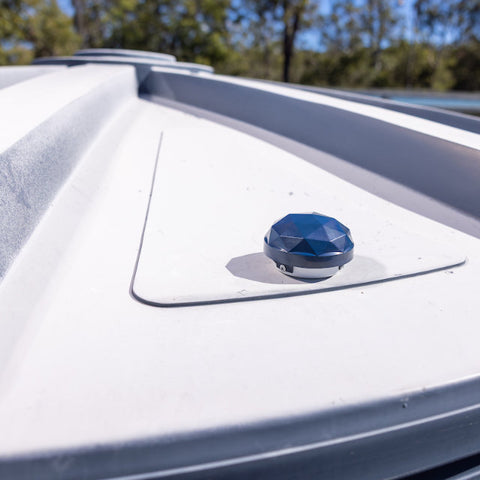
Polyethylene Tank End Cap

Polyethylene Tank End Cap

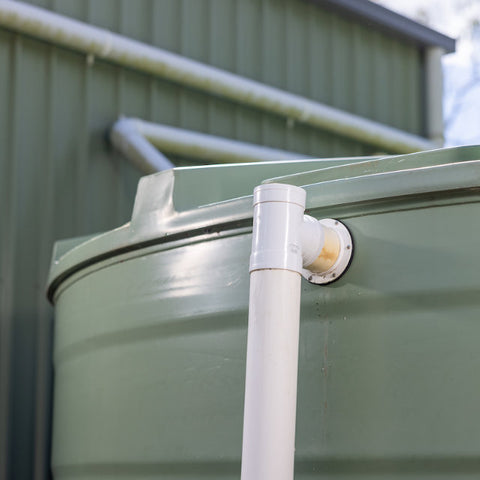
Polyethylene Tank T-Piece

Polyethylene Tank T-Piece


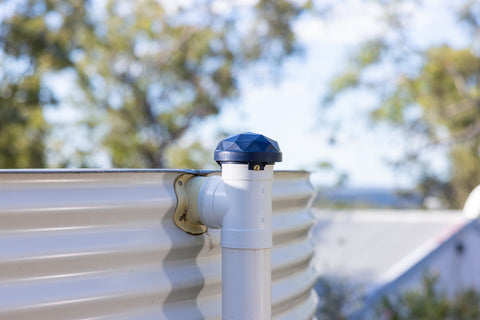
Sensor Node Installation T-Piece

Installation with a T-Piece for a 90mm Stormwater Overflow

The Node is designed to fit on a standard 90m stormwater pipes.

Items needed for installation, not supplied

  • 1 x 90mm 90° Female and Female PVC Stormwater Junction – T-Piece
  • 3 x Screws (Stainless or Hot-dipped galvanised self-tapping)
  • An additional short length of 90mm pipe
  • Roof and Gutter Sealant

Tools

  • Drill or screwdriver

Step by Step

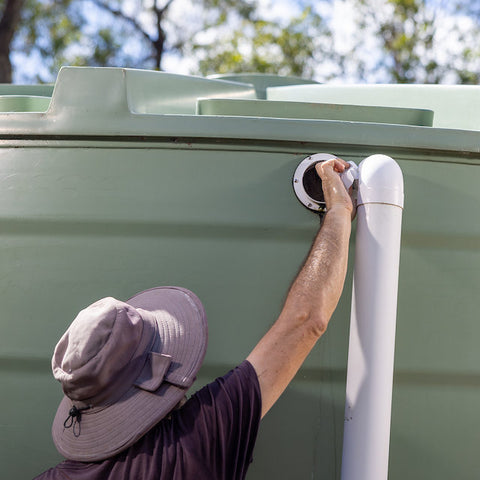
Remove existing Stormwater Pipe

Remove existing Stormwater Pipe

  • If present, remove the existing stormwater fittings from the overflow of the tank.
  • Remove Elbow piece if connected
  • Check inside the tank the fitting type, elbow or straight, to set fill height later
Setting up T-Piece

Setting up T-Piece

  • Test fit the new 90mm T-Piece
  • Check if an extension piece is needed.
  • If yes, cut the additional required piece to suit.
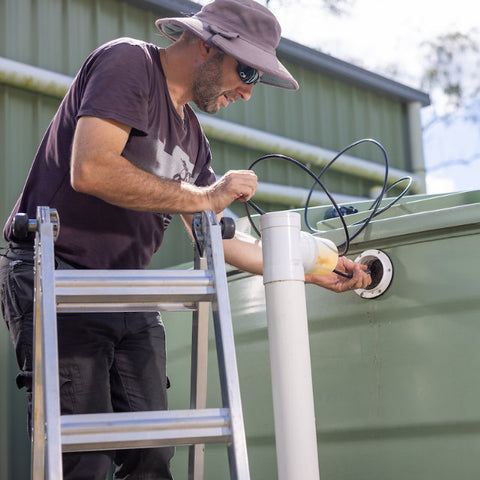
  • Cut the cable tie of the sensor cable without damaging the cable.
Installation of the sensor

Installation of the sensor

  • Insert the sensor from the top and pull it out of the middle of the T-piece.
  • Gently insert the sensor into the tank, including the excess cable.
  • Apply sealant to joints. Set the T-Piece on top of the stormwater pipe and connect it to the tank.

IMPORTANT: Ensure no sealant is transferred to the metal piece of the sensor


Secure Node

Secure Node

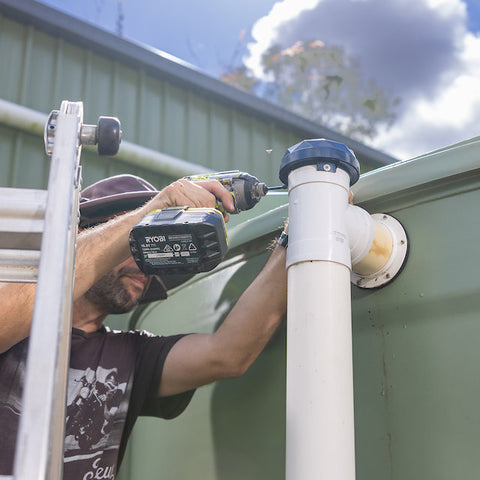
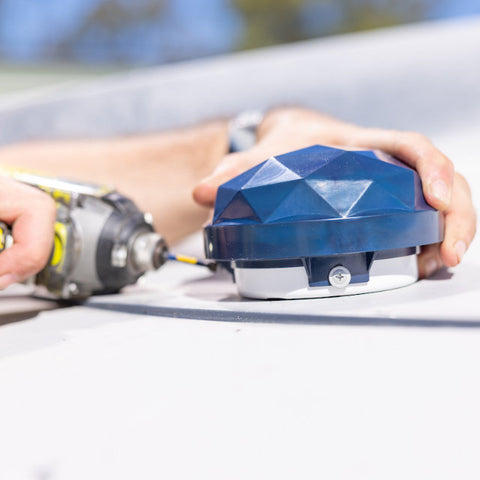
  • Set Node on top of the T-Piece.
  • Secure Node with three screws to the T-Piece utilising the enclosure tabs.


IMPORTANT: Do not pull the sensor back out until sealant has cured


Sensor Node Installation End Cap

Installation with an End Cap - Polyethylene, Steel and Concrete Tanks

Items needed for installation, not supplied

  • 90mm Push-On PVC Storm Cap – End Cap.
  • 5 x Screws (Stainless or Hot-dipped galvanised self-tapping).

Tools

  • Drill or screwdriver.
  • 25mm min drill bit.
  • Plastic Tank: Step-drill or wood drill bit.
  • Steel Tank: Step-drill bit.
  • Concrete Tank: diamond core drill bit.

Step by Step

Prepare End Cap and Tank

Prepare End Cap and Tank

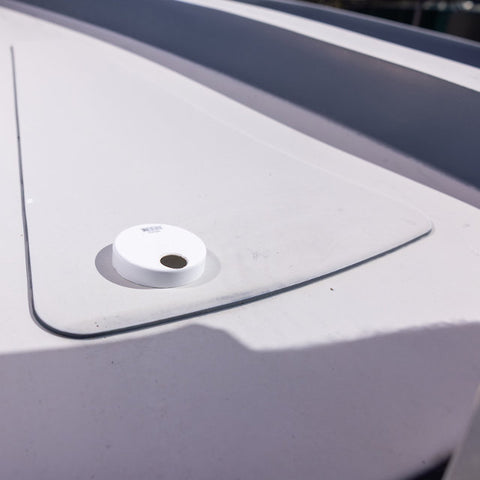
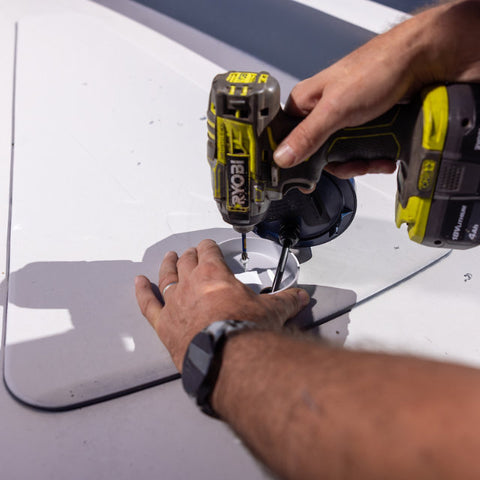
  • Drill a 25-32mm hole into the End Cap using the supplied template.
  • Mark the location on the tank, and drill the same hole size.
Installing the Sensor

Installing the Sensor

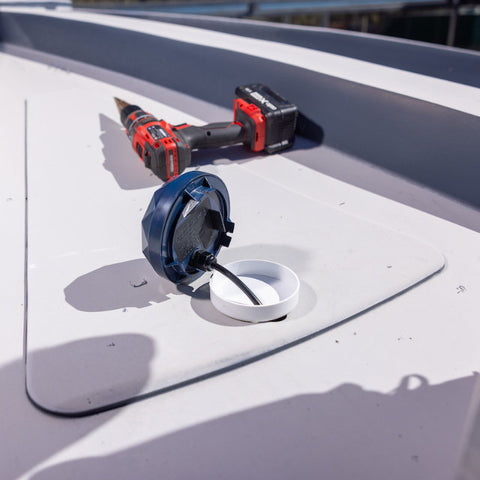
  • Cut the cable tie of the sensor cable without damaging the cable.
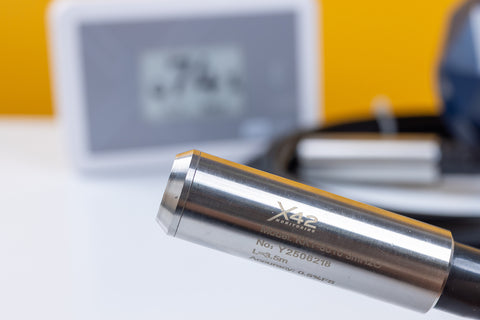
  • Fit the sensor through the hole in the end cap into the tank.
Securing the End Cap

Securing the End Cap

  • Secure the End Cap to the tank (screws or adhesive)

  • Ensure the 25mm hole is located at the lowest point to allow fluids to drain back.
Secure Node

Secure Node

  • Set the Node on top of the End Cap.

  • Secure the Node with three screws, utilising the enclosure tabs.