
Some things you want to check with your own hands before you rely on them. Every business listed below is an authorised X42 retailer, installer or tank manufacturer supplying genuine X42 water level monitors in Australia. Buying from an authorised stockist means you get a genuine unit, the full warranty, and local people who can help you install it.
Looking for the short answer? X42 Tank & Diesel monitors are sold across Queensland, New South Wales, Victoria, South Australia and Tasmania through irrigation specialists, pump shops, rainwater tank manufacturers and the Irrigear network. Find your nearest stockist by state below.
Authorised Retailers & Installers by State
Irrigation, pump and plumbing specialists who stock and install the X42 Water Level Monitor.
Queensland (QLD)
- Advanced Irrigation238 Woolcock St, Currajong QLD 4812
- Ackinclose Plumbing & Irrigation15344 Bunya Hwy, Murgon QLD 4605
- Cooroy Pumps & Solar7A Diamond St, Cooroy QLD 4563
- Irrigear Lowood35 Michel St, Lowood QLD 4311
- Mobile Plastic Repairs26 Usher Blvd, Beerwah QLD 4519
- Pumps Filters Irrigation22–24 Hall Rd, Glanmire QLD 4570
- Superior Irrigation Services90 Old College Rd, Gatton QLD 4343
- Total Water ServicesUnit 1, 34 Tradelink Rd, Hillcrest QLD 4118
- Total Water Services Capalaba7 Merritt St, Capalaba QLD 4157
New South Wales (NSW)
- ABC Pumps & Irrigation3 Hereford St, Berkeley Vale NSW 2261
- Irrigear Moss Vale5/13 Old Dairy Close, Moss Vale NSW 2577
- Pacific Mist Watering Systems2/80 Reserve Rd, Artarmon NSW 2064
- Tank RightNew South Wales
Victoria (VIC)
- A & R Water Solutions125 Northern Hwy, Echuca VIC 3564
- AC Water Cartage27 Cherry Tree Rd, Hurstbridge VIC 3099
- Barwon Irrigation24 Lambert Ave, Newtown VIC 3220
- Electel Pty Ltd169 Argyle St, Traralgon VIC 3844
- Irrigear Tinamba5 Tinamba Seaton Rd, Tinamba VIC 3859
- P.I.P.E.S. Pty Ltd7 June Ave, Dromana VIC 3936
- PK Equipment72 Macalister St, Sale VIC 3850
- Ultimate Pumps & Irrigation549 Sutton St, Sebastopol VIC 3356
South Australia (SA)
- Berri Irrigation & Plumbing9 Hughes St, Berri SA 5343
- Watersolve Irrigation20683 Riddoch Hwy, Mount Gambier SA 5290
Tasmania (TAS)
- Irrigear Midlands11 King St, Campbell Town TAS 7210
Nationwide Network
- Irrigear Independent ExpertsAll StatesIndependent irrigation specialists Australia-wide use the Irrigear store locator to find your closest branch.
Rainwater Tank Manufacturers
Tank makers who supply the X42 monitor factory-fitted or as an add-on with a new rainwater or Diesel tank.
- Great Northern Tanks66 Carrington Rd, Torrington QLD 4350
- National Tank Makers13894 D'Aguilar Hwy, Nanango QLD 4615
- Rain Again TanksQueensland
- Select Water TanksQueensland
- QTank270 Leitchs Rd, Brendale QLD 4500
- TankworldNew South Wales, Victoria & South Australia
International Distributors
X42 Monitoring monitors are designed and manufactured in Queensland, Australia, and ship worldwide.
Outside Australia? X42 Tank and diesel products are available for export, and we are actively appointing distributors across, the Pacific Islands, South-East Asia, and Latin America.
If you are an irrigation wholesaler, tank manufacturer or water-technology distributor in your market, or you simply want to buy an X42 monitor from outside Australia, contact us at sales@x42monitoring.com and we will point you to the nearest supply option or discuss distribution for your region.
Want to stock X42? We support our retailers with training, display units, marketing assets and direct technical backup from the people who designed the product. Get in touch about becoming an authorised stockist.
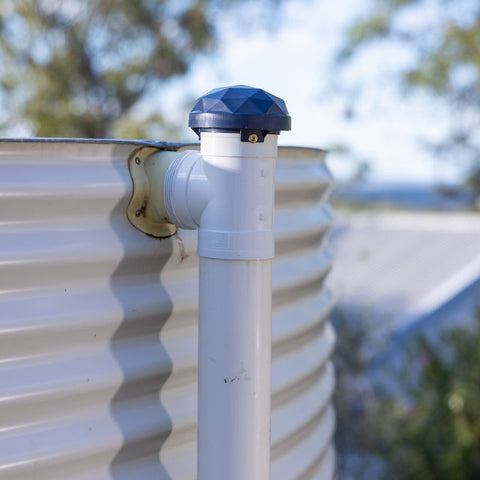

Steel Tank with T-Piece
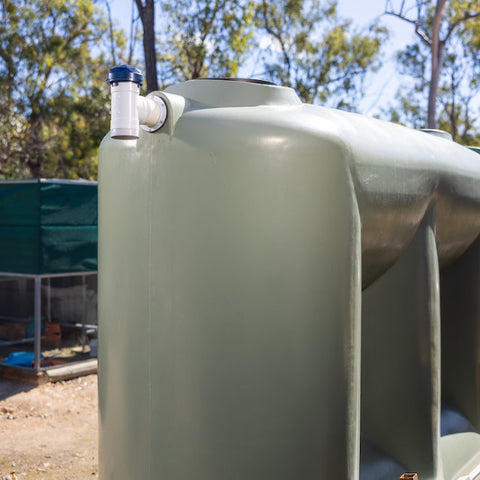

Polyethylene Tank T-Piece
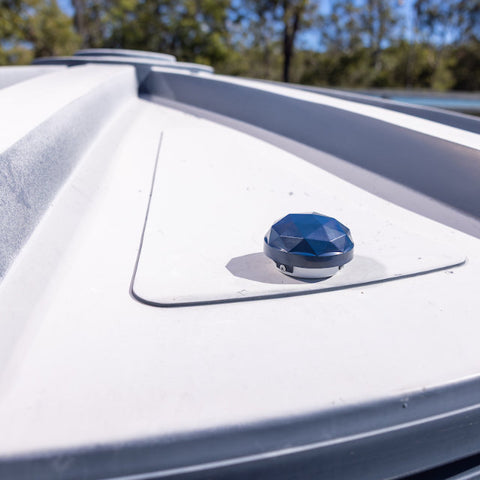

Polyethylene Tank End Cap


Concrete Tank Reducer
Installation of the X42 Tank Starter Kit and additional Sensor Nodes is DIY.
- Installation with a T-Piece for a 90mm Stormwater Overflow
- Installation with an End Cap
Sensor Node Installation T-Piece
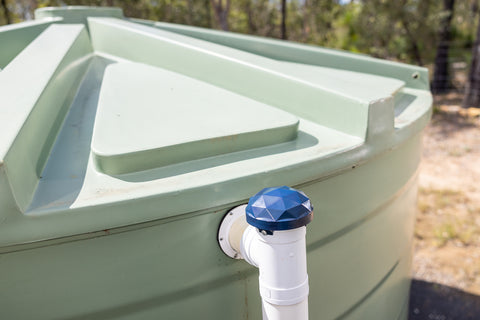

Installation with a T-Piece for a 90mm Stormwater Overflow
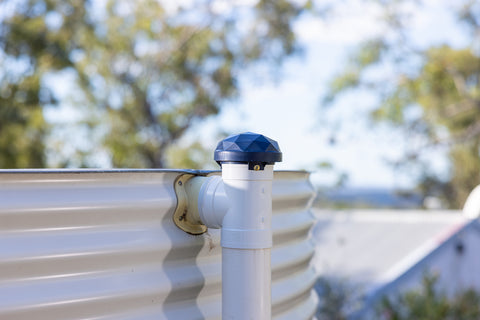
The Node is designed to fit on a standard 90m stormwater pipe.
Items needed for installation, not supplied
- 1 x 90mm 90° Female and Female PVC Stormwater Junction – T-Piece
- 3 x Screws (Stainless or Hot-dipped galvanised self-tapping)
- An additional short length of 90mm pipe
- Roof and Gutter Sealant
Tools
- Drill or screwdriver
Note
- When installation is over a high flow outlet, extend the neck at least 150mm to let the water pass
Step by Step
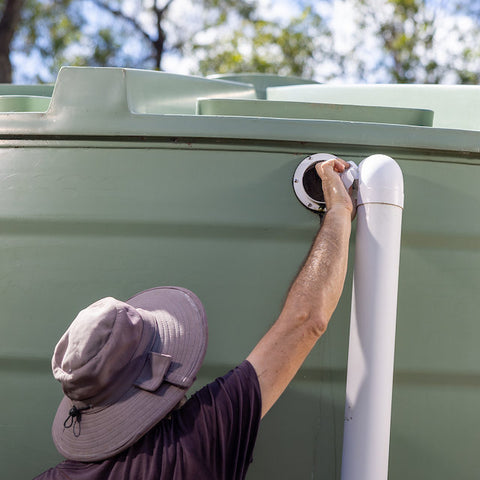

Remove existing Stormwater Pipe
- If present, remove the existing stormwater fittings from the overflow of the tank.
- Remove Elbow piece if connected
- Check inside the tank the fitting type, elbow or straight, to set fill height later
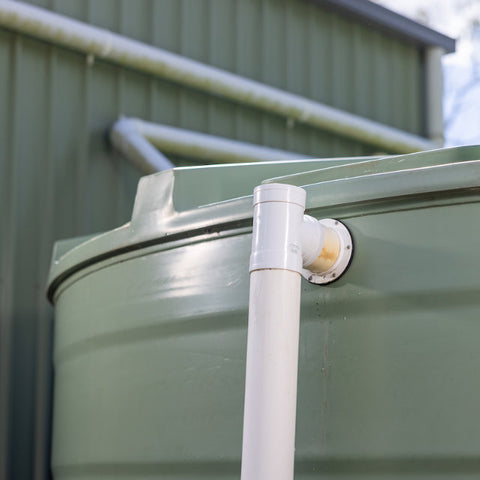

Setting up T-Piece
- Test fit the new 90mm T-Piece
- Check if an extension piece is needed.
- If yes, cut the additional required piece to suit.
- Cut the cable tie of the sensor cable without damaging the cable.
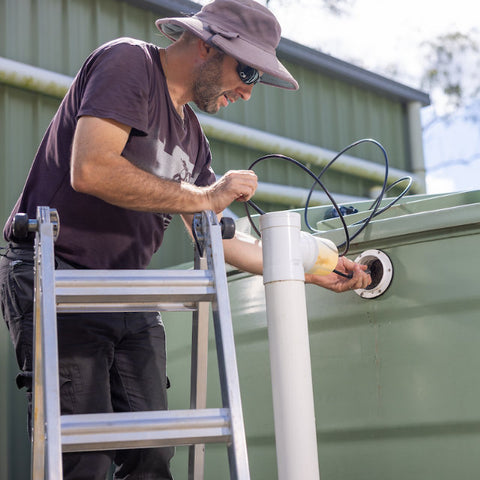

Installation of the sensor
- Insert the sensor from the top and pull it out of the middle of the T-piece.
- Gently insert the sensor into the tank, including the excess cable.
- Apply sealant to joints. Set the T-Piece on top of the stormwater pipe and connect it to the tank.
IMPORTANT: Ensure no sealant is transferred to the metal piece of the sensor
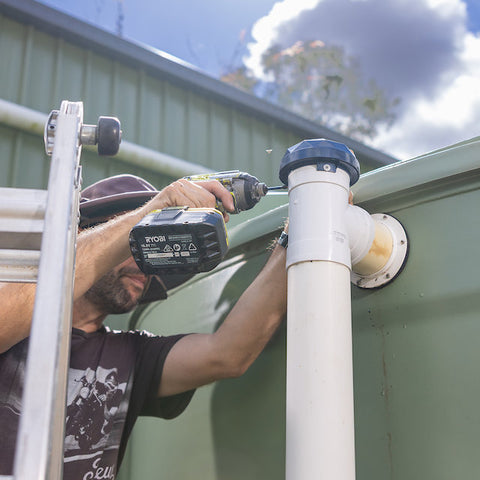

Secure Node
- Set Node on top of the T-Piece.
- Secure Node with three screws to the T-Piece utilising the enclosure tabs.
IMPORTANT: Do not pull the sensor back out until sealant has cured
NOTE: When installing over a high-flow outlet, extend the neck at least 150mm to let the water pass
Sensor Node Installation End Cap
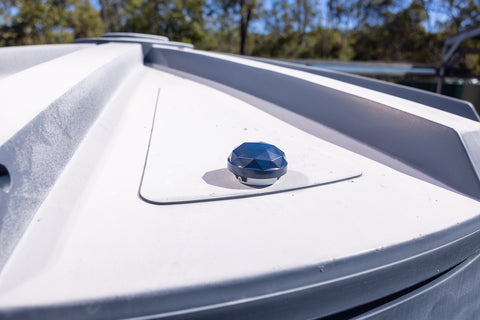

Installation with an End Cap - Polyethylene, Steel and Concrete Tanks
Items needed for installation, not supplied
- 90mm Push-On PVC Storm Cap – End Cap.
- 5 x Screws (Stainless or Hot-dipped galvanised self-tapping).
Tools
- Drill or screwdriver.
- 25mm min drill bit.
- Plastic Tank: Step-drill or wood drill bit.
- Steel Tank: Step-drill bit.
- Concrete Tank: diamond core drill bit.
Step by Step
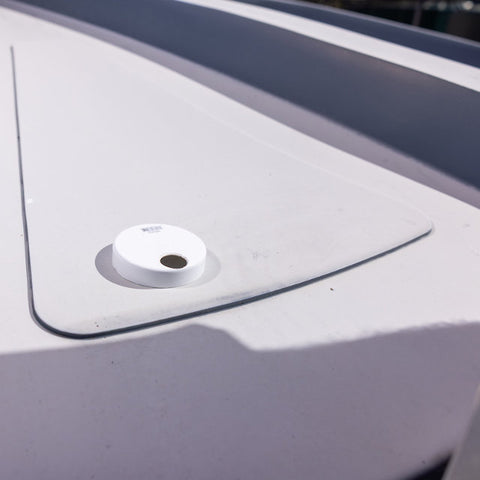

Prepare End Cap and Tank
- Drill a 25-32mm hole into the End Cap using the supplied template.
- Mark the location on the tank, and drill the same hole size.
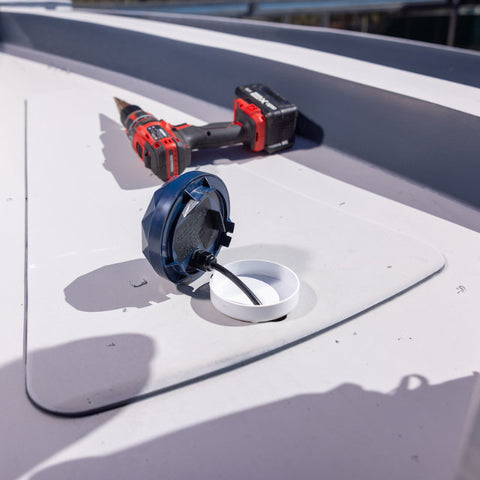

Installing the Sensor
- Cut the cable tie of the sensor cable without damaging the cable.
- Fit the sensor through the hole in the end cap into the tank.
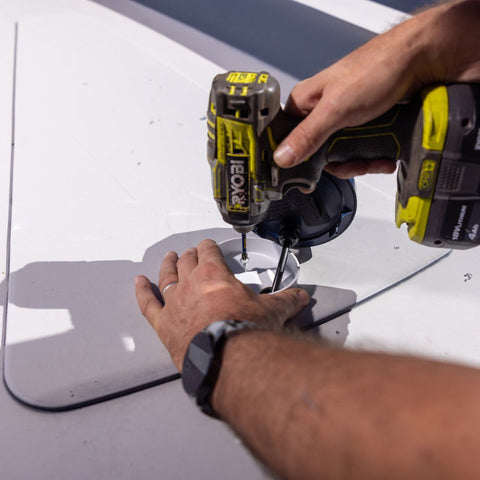

Securing the End Cap
- Secure the End Cap to the tank (screws or adhesive)
- Ensure the 25mm hole is located at the lowest point to allow fluids to drain back.
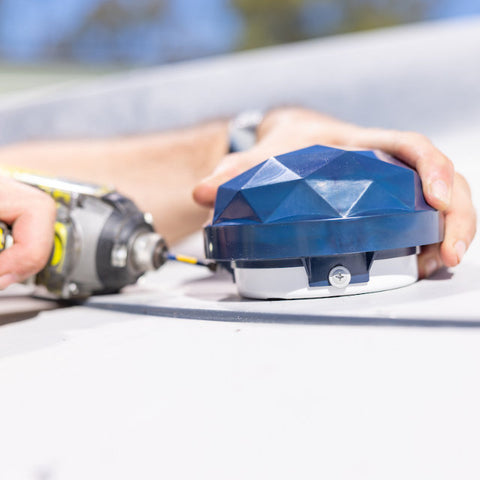

Secure Node
- Set the Node on top of the End Cap.
- Secure the Node with three screws, utilising the enclosure tabs.
Featured product
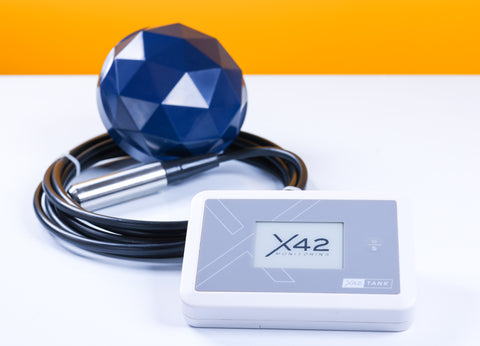

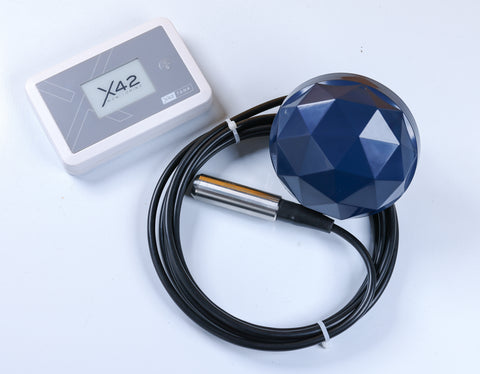

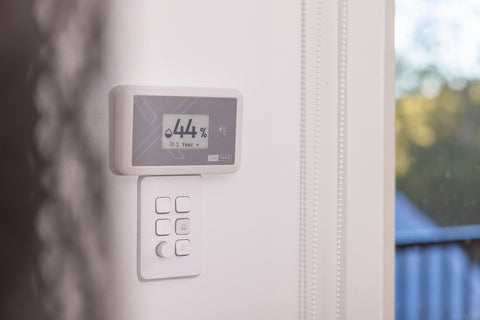

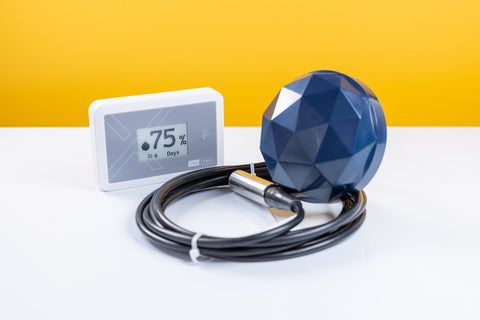

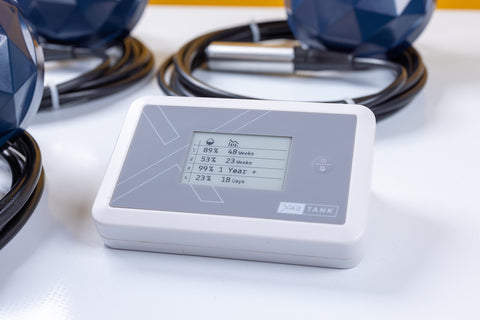

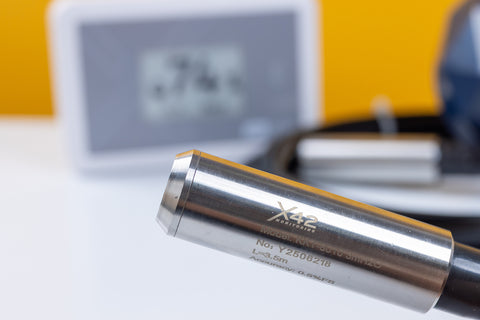


X42 Tank Monitor Starter Kit
$389.00
Choose your number of tanks.